Using CICS resources
Using CICS resources
Expand a CICS profile to see the region name, and expand the region to view its resources.
-
If the CICS profile is connected to a CMAS region that is part of a CICSPlex, the tree shows all of the regions managed by the CICSPlex.
-
If the CICS profile is for an SMSS region, then just one region is shown. Inactive regions in a plex are shown with an empty icon.
Showing and filtering resources in a region
Expand a CICS region to show folders for the resource types Programs, Transactions, and Local Files. Expand each type to show the resources. The number of resources in a resource tree appears in square brackets next to the tree name.
The list of resources is pre-filtered to exclude many of the IBM supplied ones to narrow the contents to just include user programs.
-
Use the search icon against a resource type to apply a filter. You can enter an exact resource name or use wildcards. The search history is saved so you can recall previous searches.
-
To reset the filter to its initial criteria, use the clear filter icon against the resource type. If you want to see all resources in a region (including IBM supplied ones), use * as a filter.
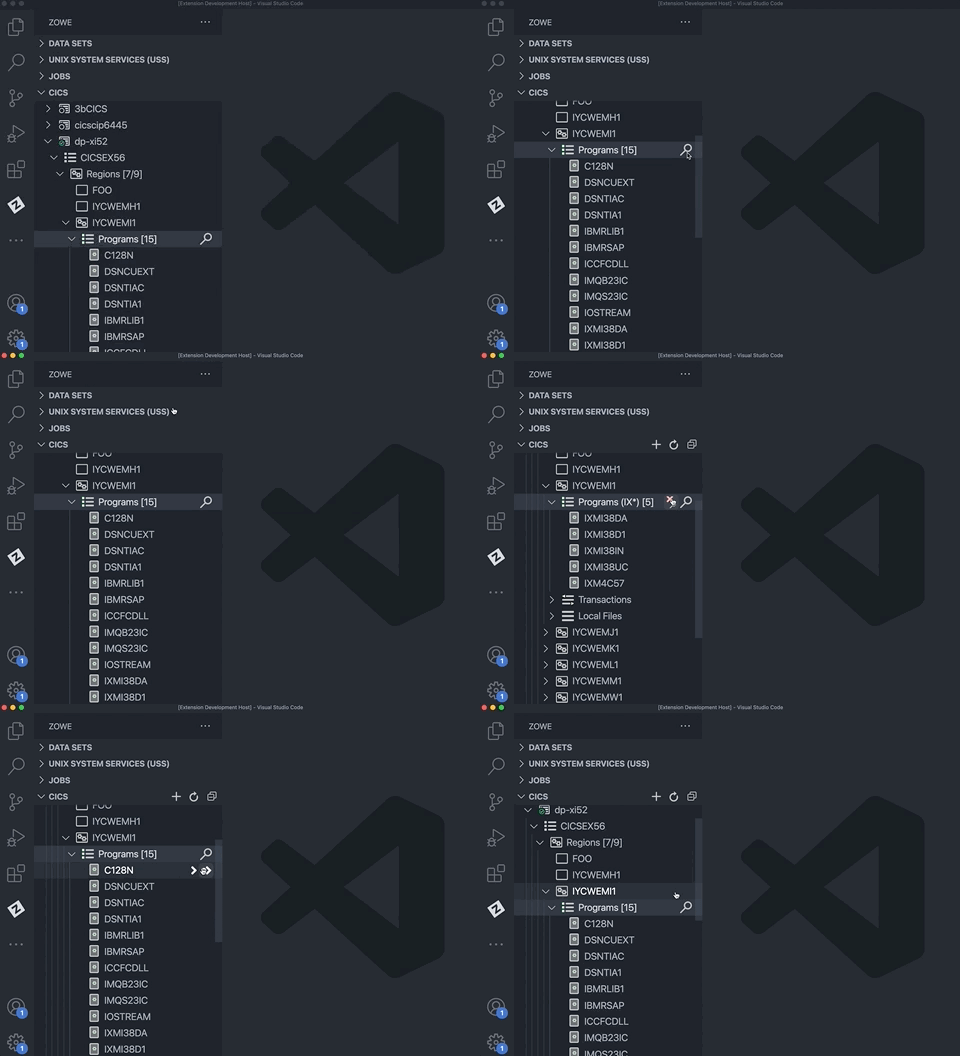
Tip: To apply multiple filters, separate entries with a comma. You can append any filter with an *, which indicates wildcard searching.
Showing and filtering resources in a plex
Similar to filtering resources in a region, you can apply a filter on a all region resources in a plex.
-
Use the search icon inline with the Regions tree and then select Regions, Programs, Local Transactions or Local Files from the drop-down menu to specify which resource type the filter should be applied for all regions in the plex.
-
To reset the filter to its initial criteria, use the clear filter icon against the Regions tree. This opens a drop-down menu that gives the option to clear the filter for all the Regions, Programs, Local Transactions or Local Files in the plex, and the option All to clear all filters in the plex.
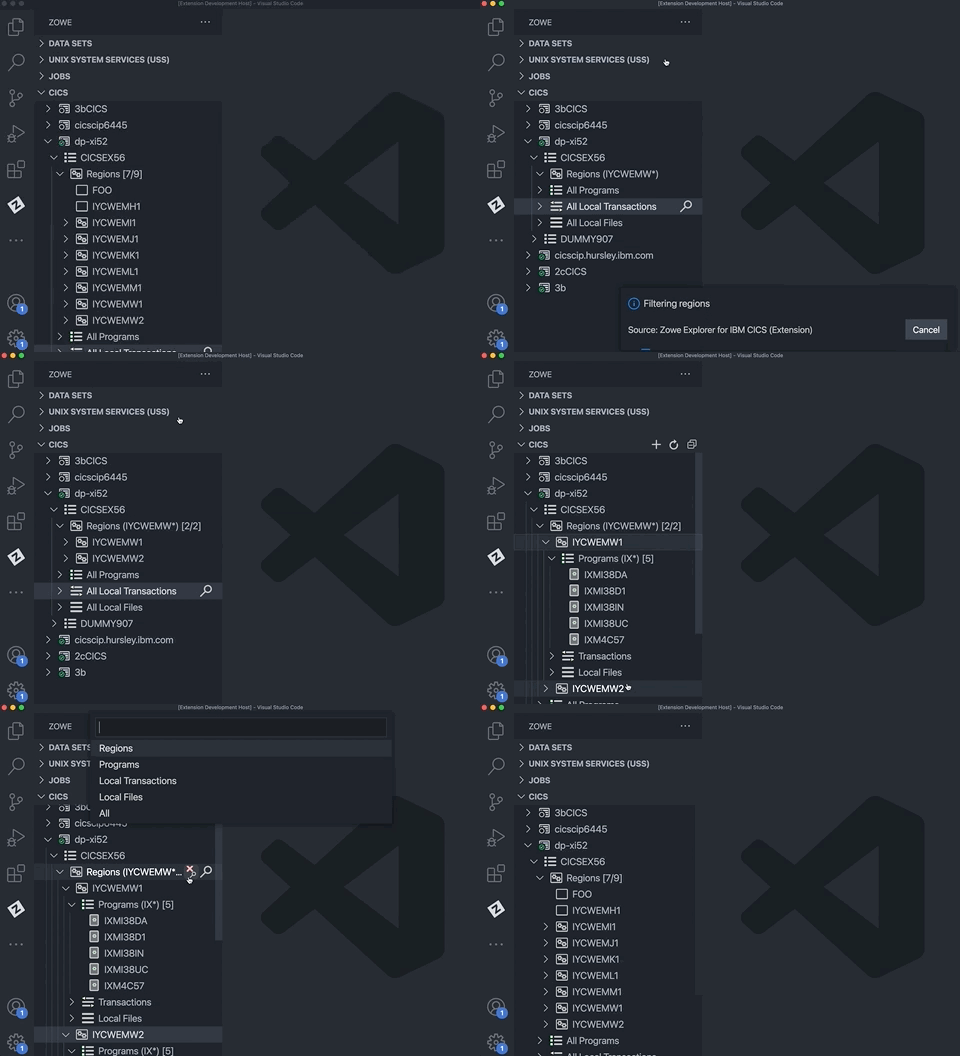
Tip: To apply multiple filters, separate entries with a comma. You can append any filter with an *, which indicates wildcard searching.
Showing and filtering resources in an 'All' resource tree
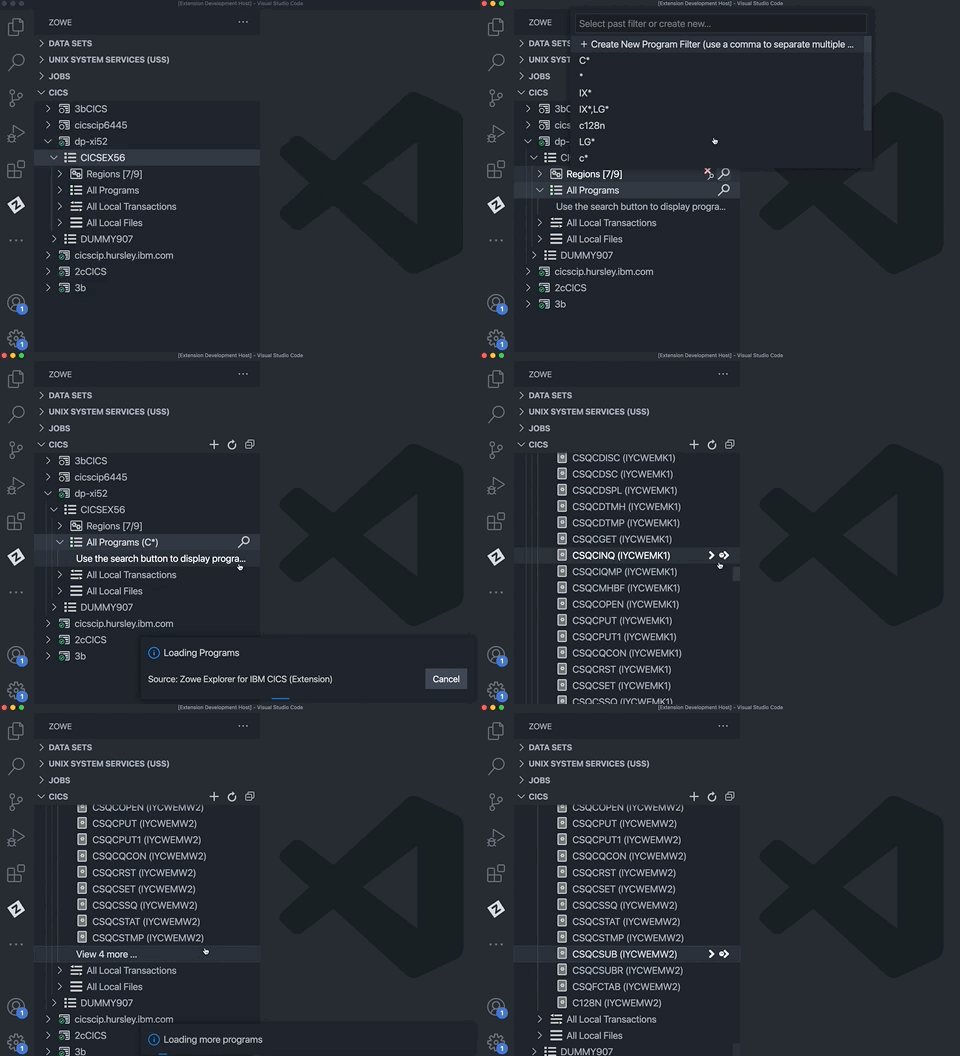
Plexes includes All Programs, All Local Transactions and All Local Files trees that contain all the corresponding resources from all regions in the plex.
-
To view resources under these trees, use the search icon inline with the tree and apply a filter.
-
If the applied filter results in over 500 records, you can change the filter to narrow the search, or click the view X more ... item to retrieve 'X' more resources.
Showing attributes
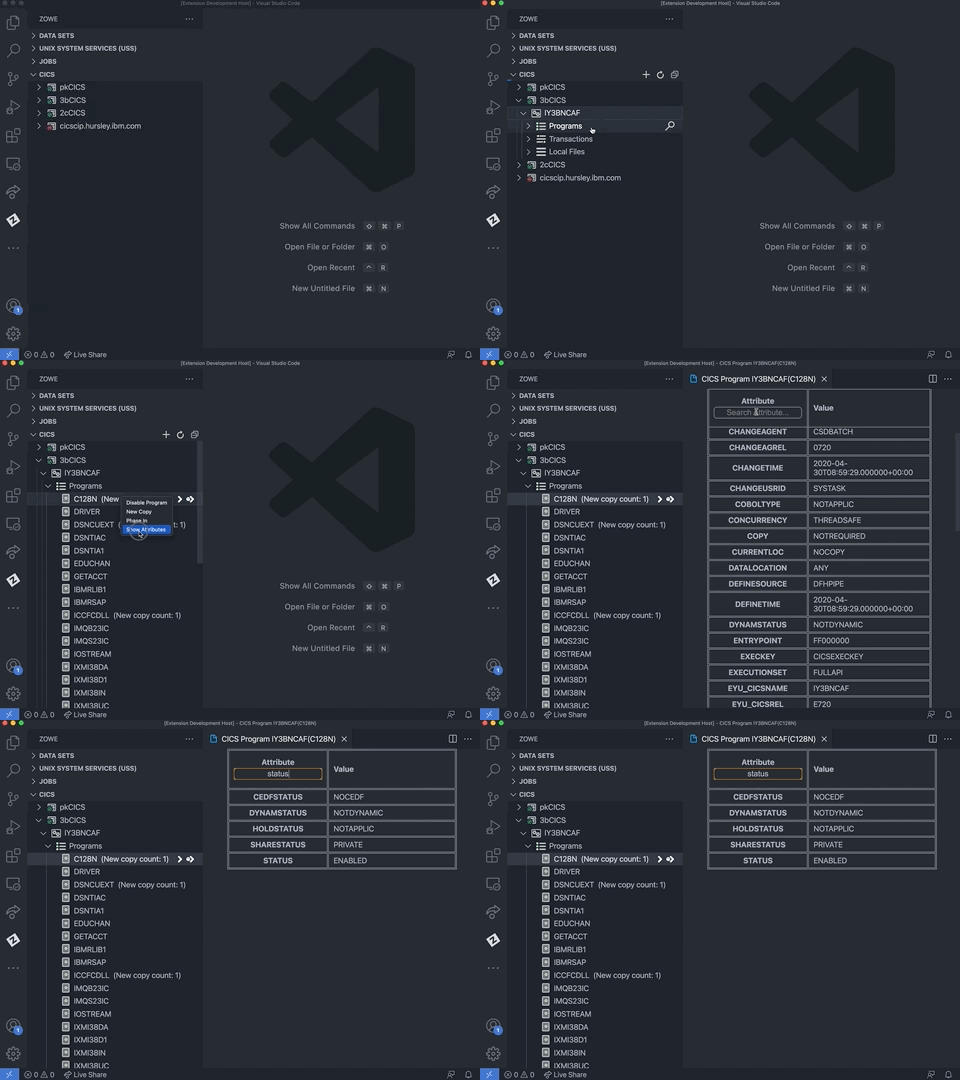
Right-click the program to open a pop-up menu that lists the available actions that can be performed.
For every resource, including a CICS region, the Show Attributes option opens a viewer that lists all attributes and their values. The attributes page has a filter box at the top that lets you search for attributes matching the criteria.
Enabling and disabling
-
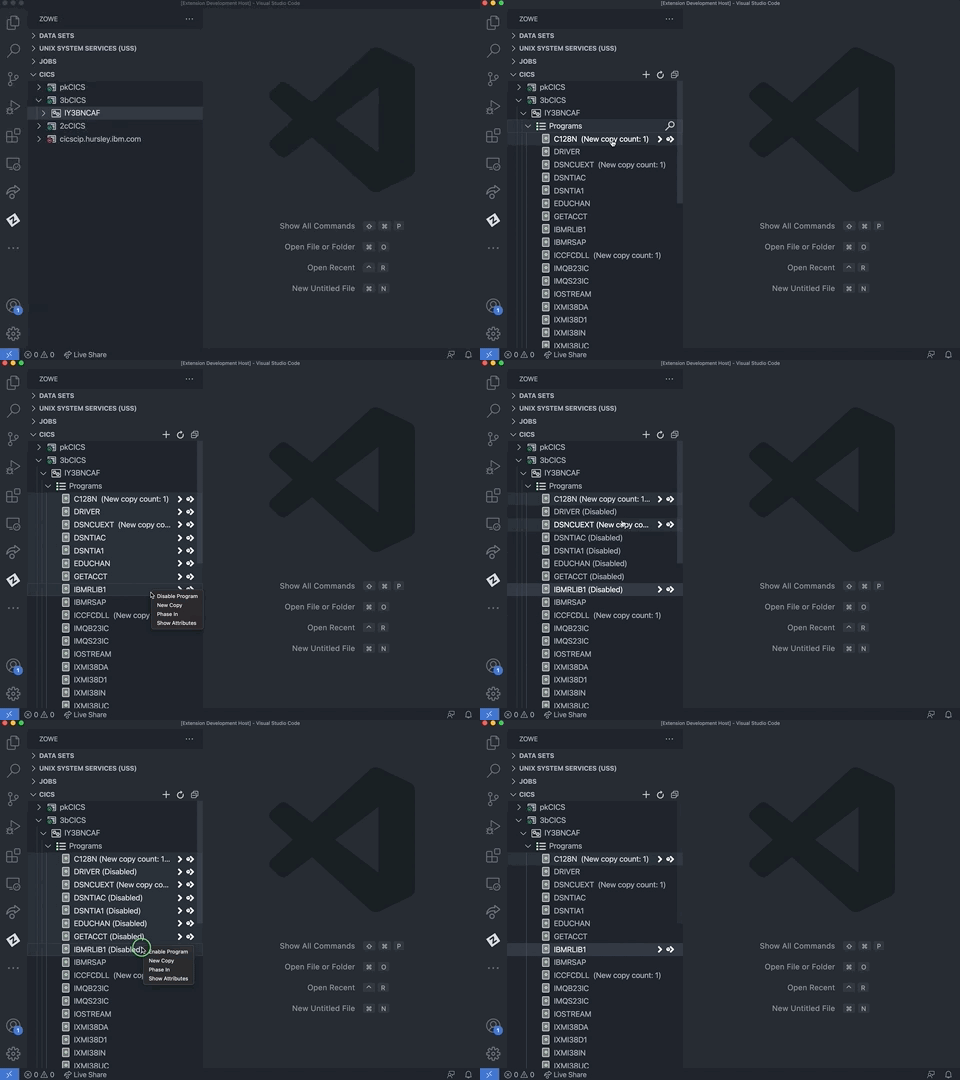
Right-click a program, local transaction, or local file to open a pop-up menu that lists the available actions that can be performed.
-
Click Disable [CICS resource] to disable the resource. A disabled resource is identified by
(Disabled)text next to its name.
When a resource is already disabled, you can re-enable it by clicking Enable [CICS resource] in the pop-up menu.
New copy and phase in
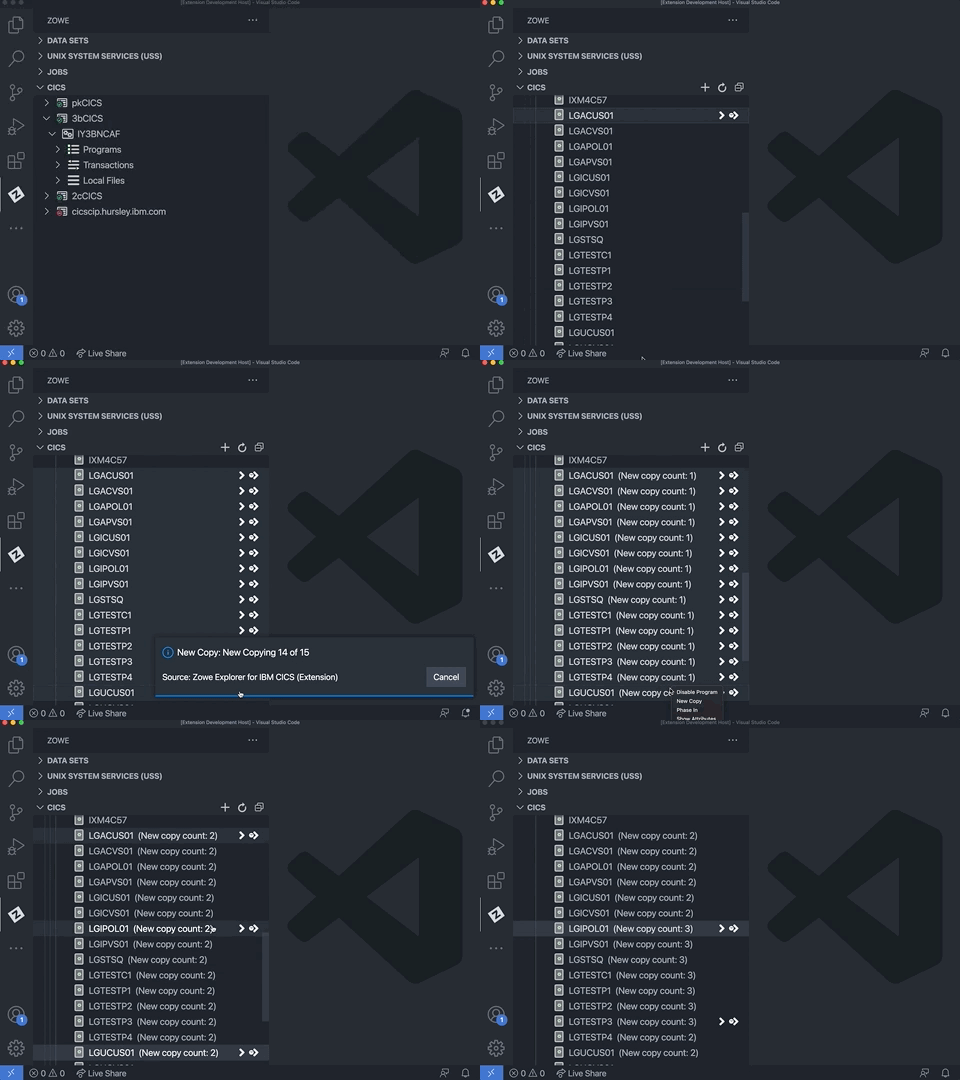
Use the new copy and the phase in actions against a CICS program to get the CICS region to load a fresh copy of the selected program into memory. This could be useful after you edited a COBOL program source and successfully compiled it into a load library and now want to test your change.
The New copy count for a program which is greater than zero is shown next to the program item in the CICS resource tree.
Opening and closing local files
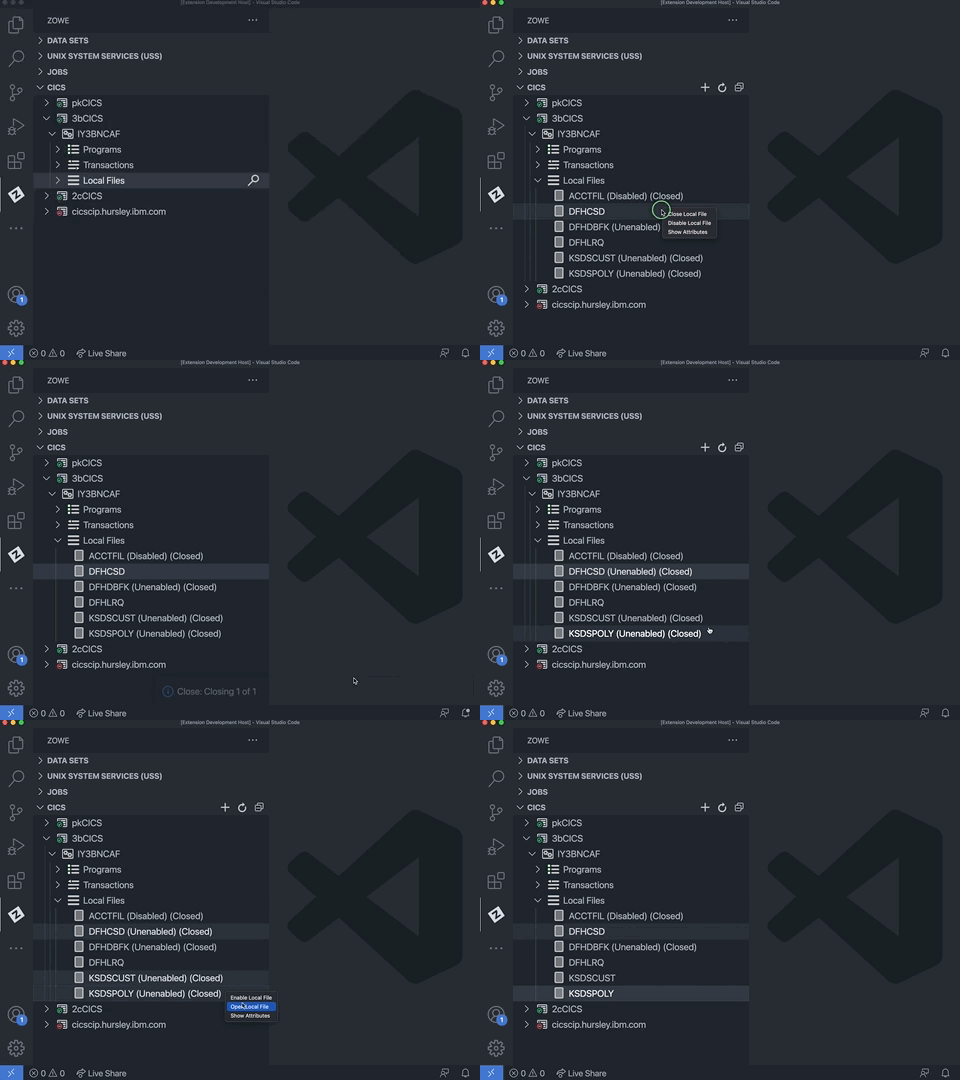
Open a local file
- Right-click a closed local file.
- Select Open Local File to toggle the
openstatusattribute toOPEN.
Close a local file
-
Right-click an open local file and select Close Local File.
-
When prompted, choose one option: Wait, No Wait, or Force.
After you select an option, the local file name is appended with a
(Closed)label upon success.